
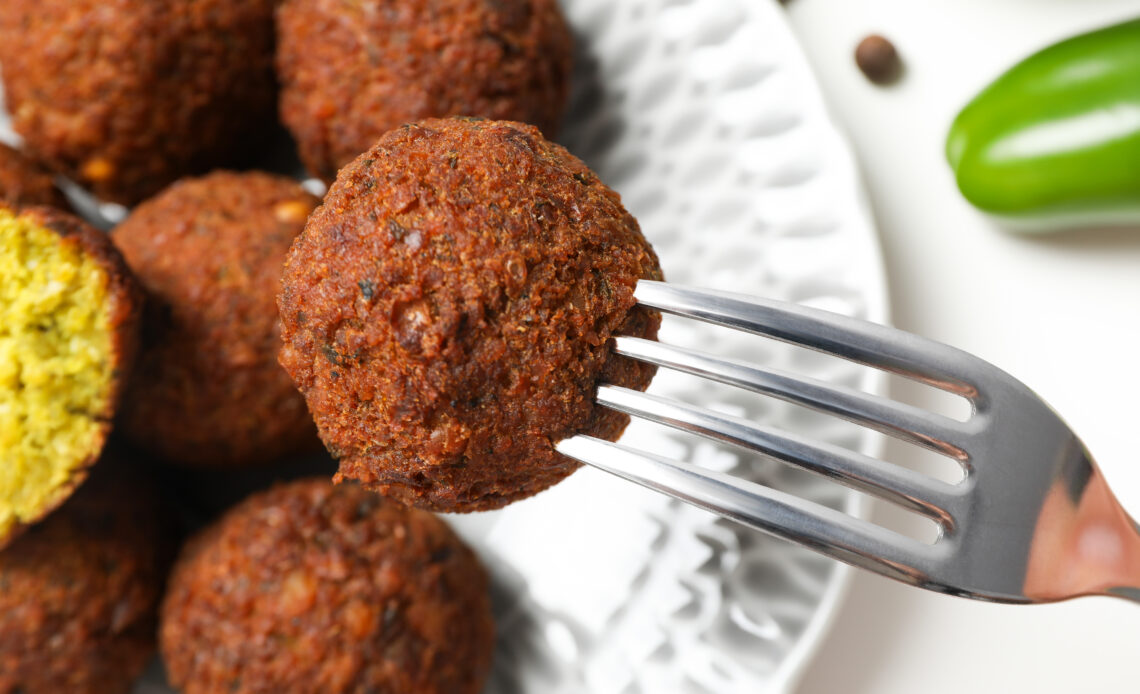
My first attempt at preparing Easy Falafel Recipe at home was a total failure. As soon as I placed the patties in the oil they broke apart and dissolved into it. I was standing there with my slotted spoon, watching the small crumbly bits of chickpea floating around, and I asked myself why on earth do people take the trouble to make it themselves when there’s a falafel vendor just two blocks away who is clearly better at it than I am.I was about to give up completely, but as I was determined regarding food I kept trying it and discovered that the remedy wasn’t some particular spice or a complicated technique—it was merely one simple mistake that I had been making all the time. Up to now I had been using canned chickpeas; after I switched to dried ones which I merely soaked over night, everything worked out perfectly. There was no more crumbling and no more oil splatter problems (mostly).
Why This Actually Works
The fact which nobody ever mentions is that canned chickpeas have already been cooked and thus contain a great deal of water; no matter how much you drain them, how hard you pat them dry or whatever you do, the result will still be a wet mixture that breaks down when heated in oil. Dried chickpeas that have merely been soaked and not cooked stay firm and starchy. That’s the true secret. It’s not exciting, but it’s what enables falafel to retain its shape instead of turning into falafel soup. I no longer paid much attention to using dried herbs.
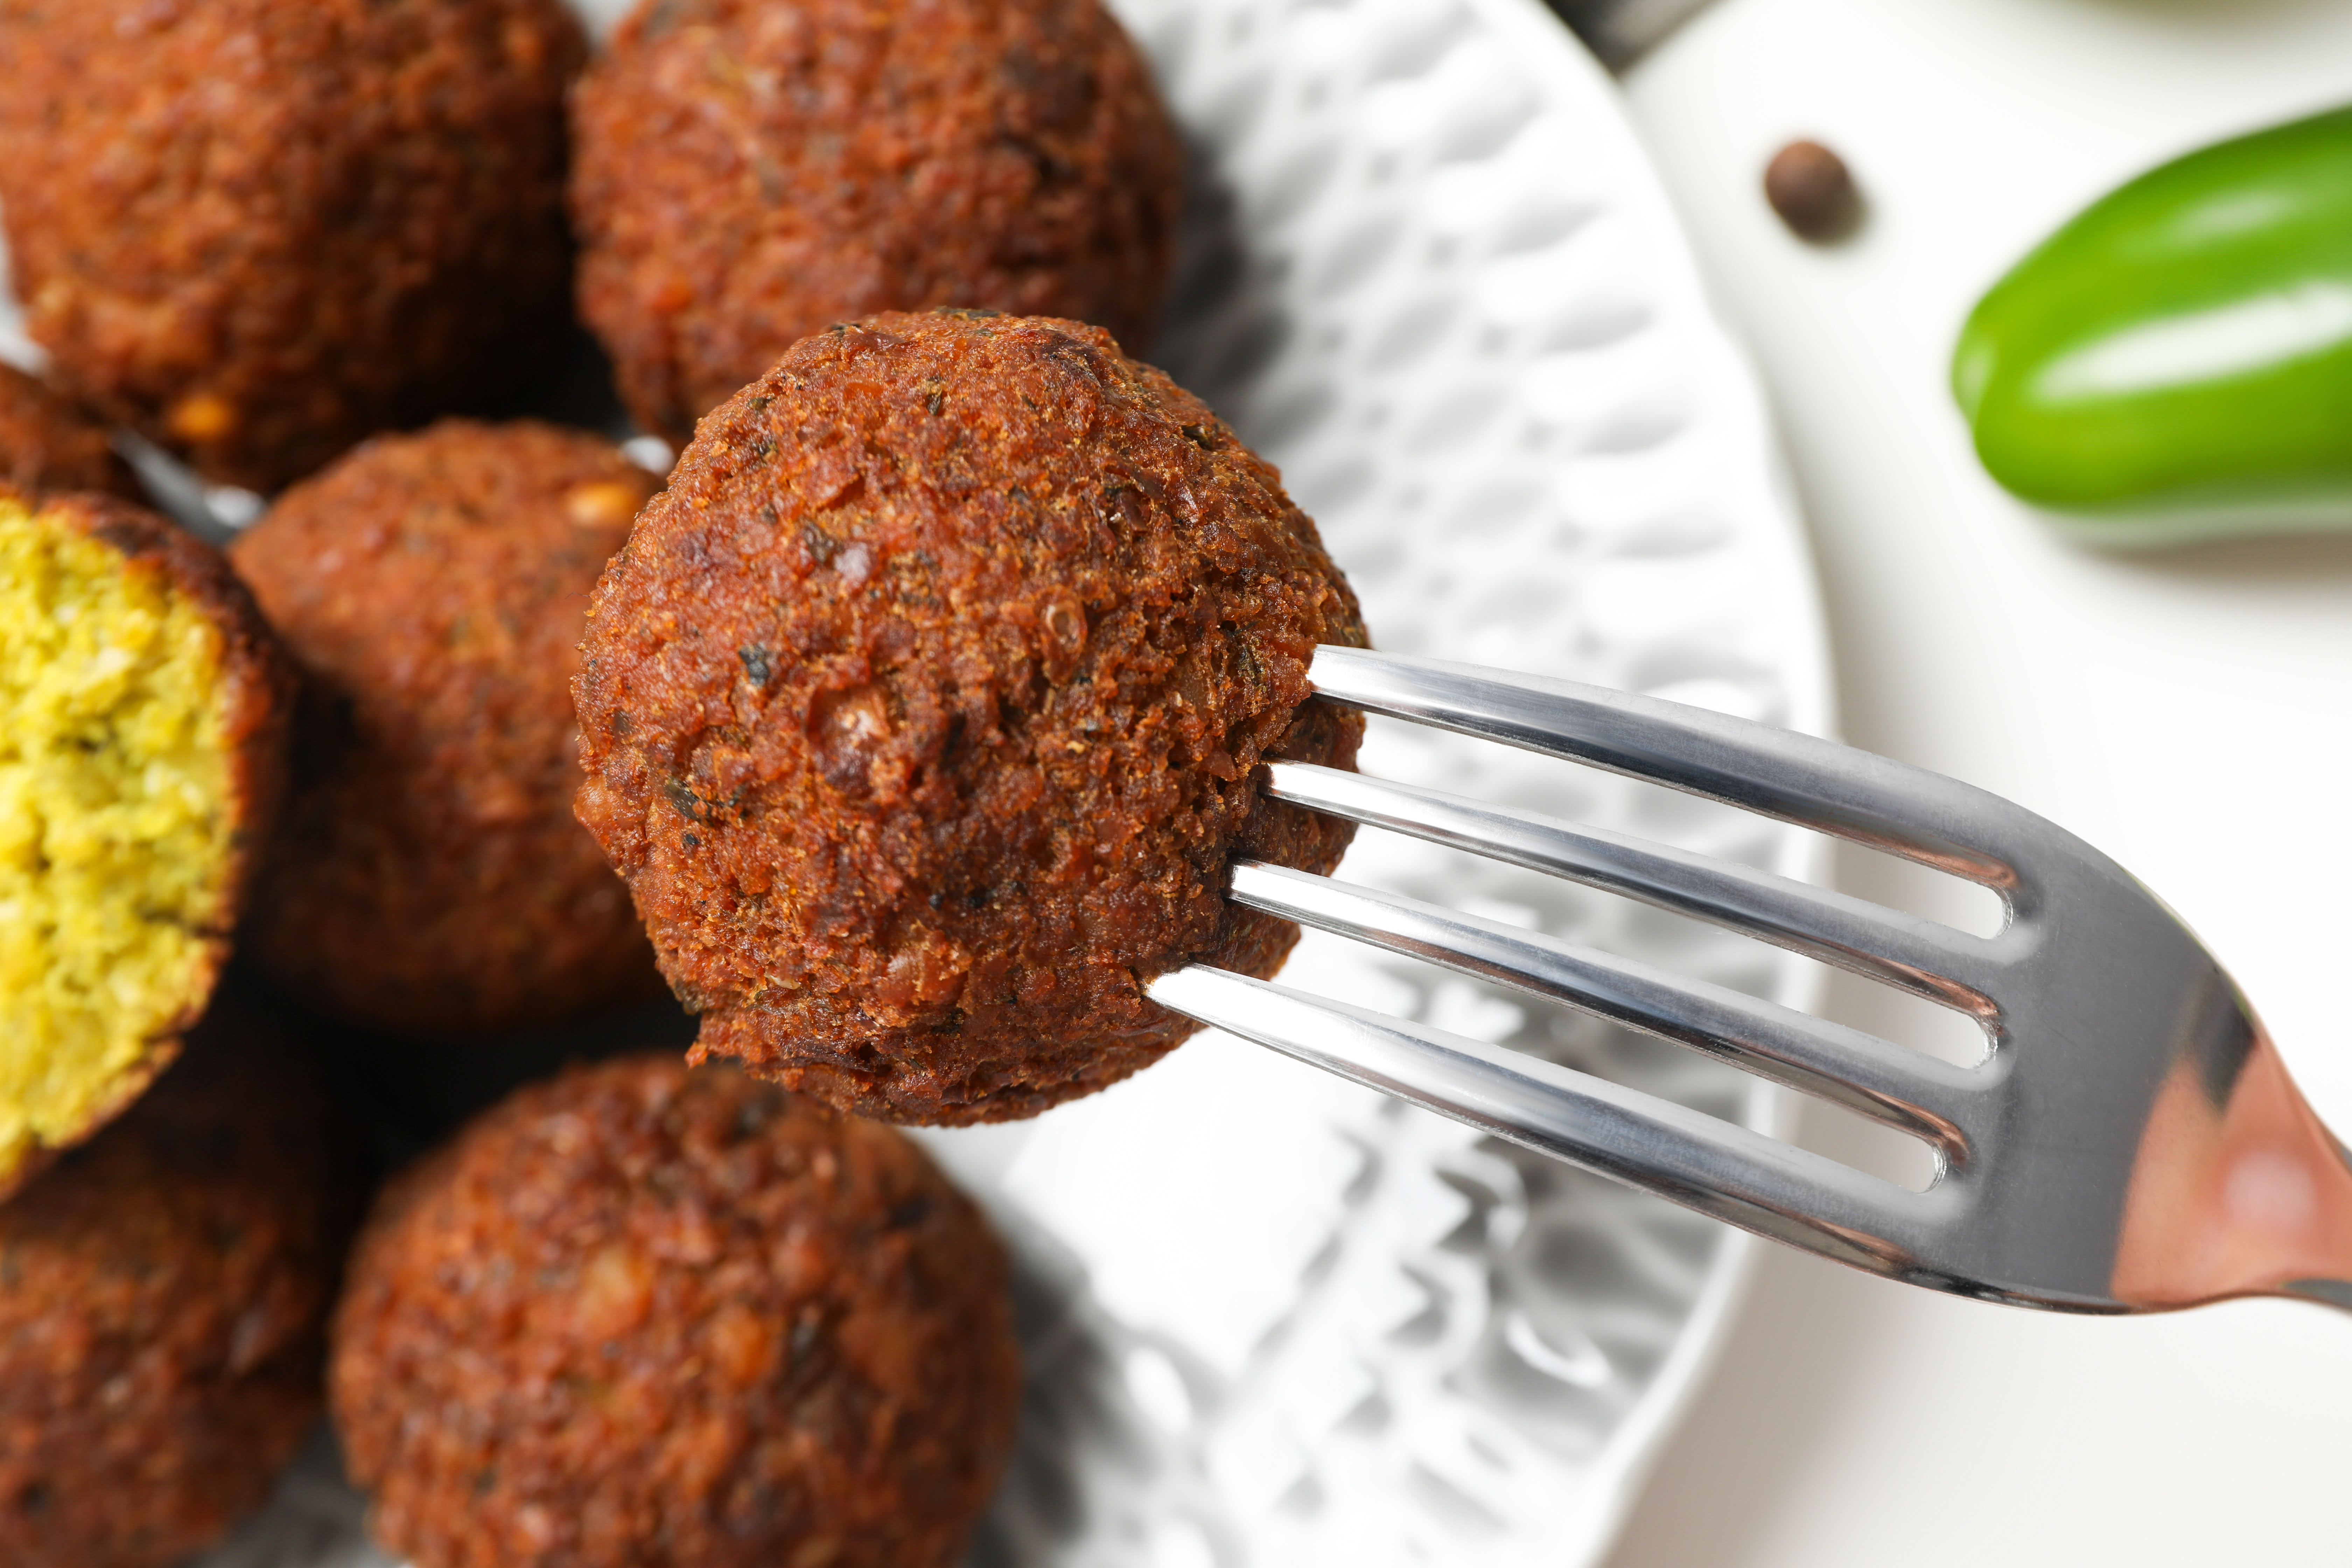
Since a good quantity of fresh parsley and cilantro serves two purposes—they season the falafel and at the same time help to maintain its shape—it is in fact this ingredient that gives the falafel its typical green, slightly crumbly texture, the sort of texture found in falafel made at a good falafel shop. Furthermore, I prefer to use the pulse setting rather than blending the mixture until it is smooth, because if you blend it too smoothly the result will be similar to a chickpea pancake rather than falafel.
Ingredients
Method
- Put your dried chickpeas into a big bowl and cover them with a lot of water because
- they swell up more than you would anticipate. In the morning, drain and rinse them; at that point they
- should be soft enough to be squeezed between the fingers but still clearly uncooked, whereas the
- canned ones have a soft, cooked texture.
- The garlic and both herbs in a food processor
- and give it a few pulses—don’t just keep the button down—instead make short bursts and at intervals
- scrape the sides until the mixture appears as coarse, sandy crumbs. It must not be a paste. When I
- first tried this I made the error of processing it for too long and as a result got something similar to
- hummus which came apart just as badly as the one made using canned chickpeas. What you want is
- coarse.
- In a bowl and then stir in the cumin, coriander, cayenne (if you are using it), baking
- powder, salt, pepper, and flour. Put the mixture into the fridge and leave it there for at least thirty
- minutes. Previously I used to skip this step since I was impatient, but I really don’t advise doing so —
- the mixture becomes firmer as a result of the resting period and is much easier to shape afterwards.
- heat up about two inches of oil in a deep pan to a temperature of 350°F.
- Take small balls—about two tablespoons each—press them down a bit and fry them a few at a time,
- for three or four minutes and flip them once, until they have turned the proper golden brown rather
- than just tan. Don’t put too many foods into the pan at one time. Even though it might be tempting to
- speed things up by frying a large amount all at once, this will cause the oil temperature to drop and
- result in greasy, unpleasant falafel rather than crisp ones.
- Do not hurry with the soaking process; once I attempted a soaking which lasted only one hour,
- believing that I could get away with it, but in the end I could not get away with it.
- If you haven’t got one already, purchase a cheap cooking thermometer since it’s the act of guessing
- the oil’s temperature that causes falafel which is either greasy inside or burnt on the outside before it
- has in fact been cooked.
- If the mixture is too wet to hold together, add the flour a little at a time instead of putting it in all at
- once. The fact that herbs can be unpredictable – for example, some bunches tend to be wetter than
- others – means that what is important is how it feels when you are holding it in your hands.
- Baking is also possible, though this means using a different type of falafel. First, place parchment
- paper on the tray, then put the shaped falafel onto it, give it a light dressing of oil, and bake it at 400°F
- for about 25 minutes, making sure to turn it halfway through. You will end up losing the crisp fried
- crust, but the falafel are still all right and are considerably less messy to clean up afterwards.
- It is possible to keep them in the fridge in a sealed container for about four days. Ideally, you should
- reheat them in an oven or in an air fryer since using the microwave makes them soft and a bit sad,
- contrary to the nature of falafel. If you want to prepare them in advance, shape the uncooked falafel
- and place it on a tray before freezing it, then put it into bags once it has hardened. They can be fried
- directly from frozen without the need to thaw them.
Notes


