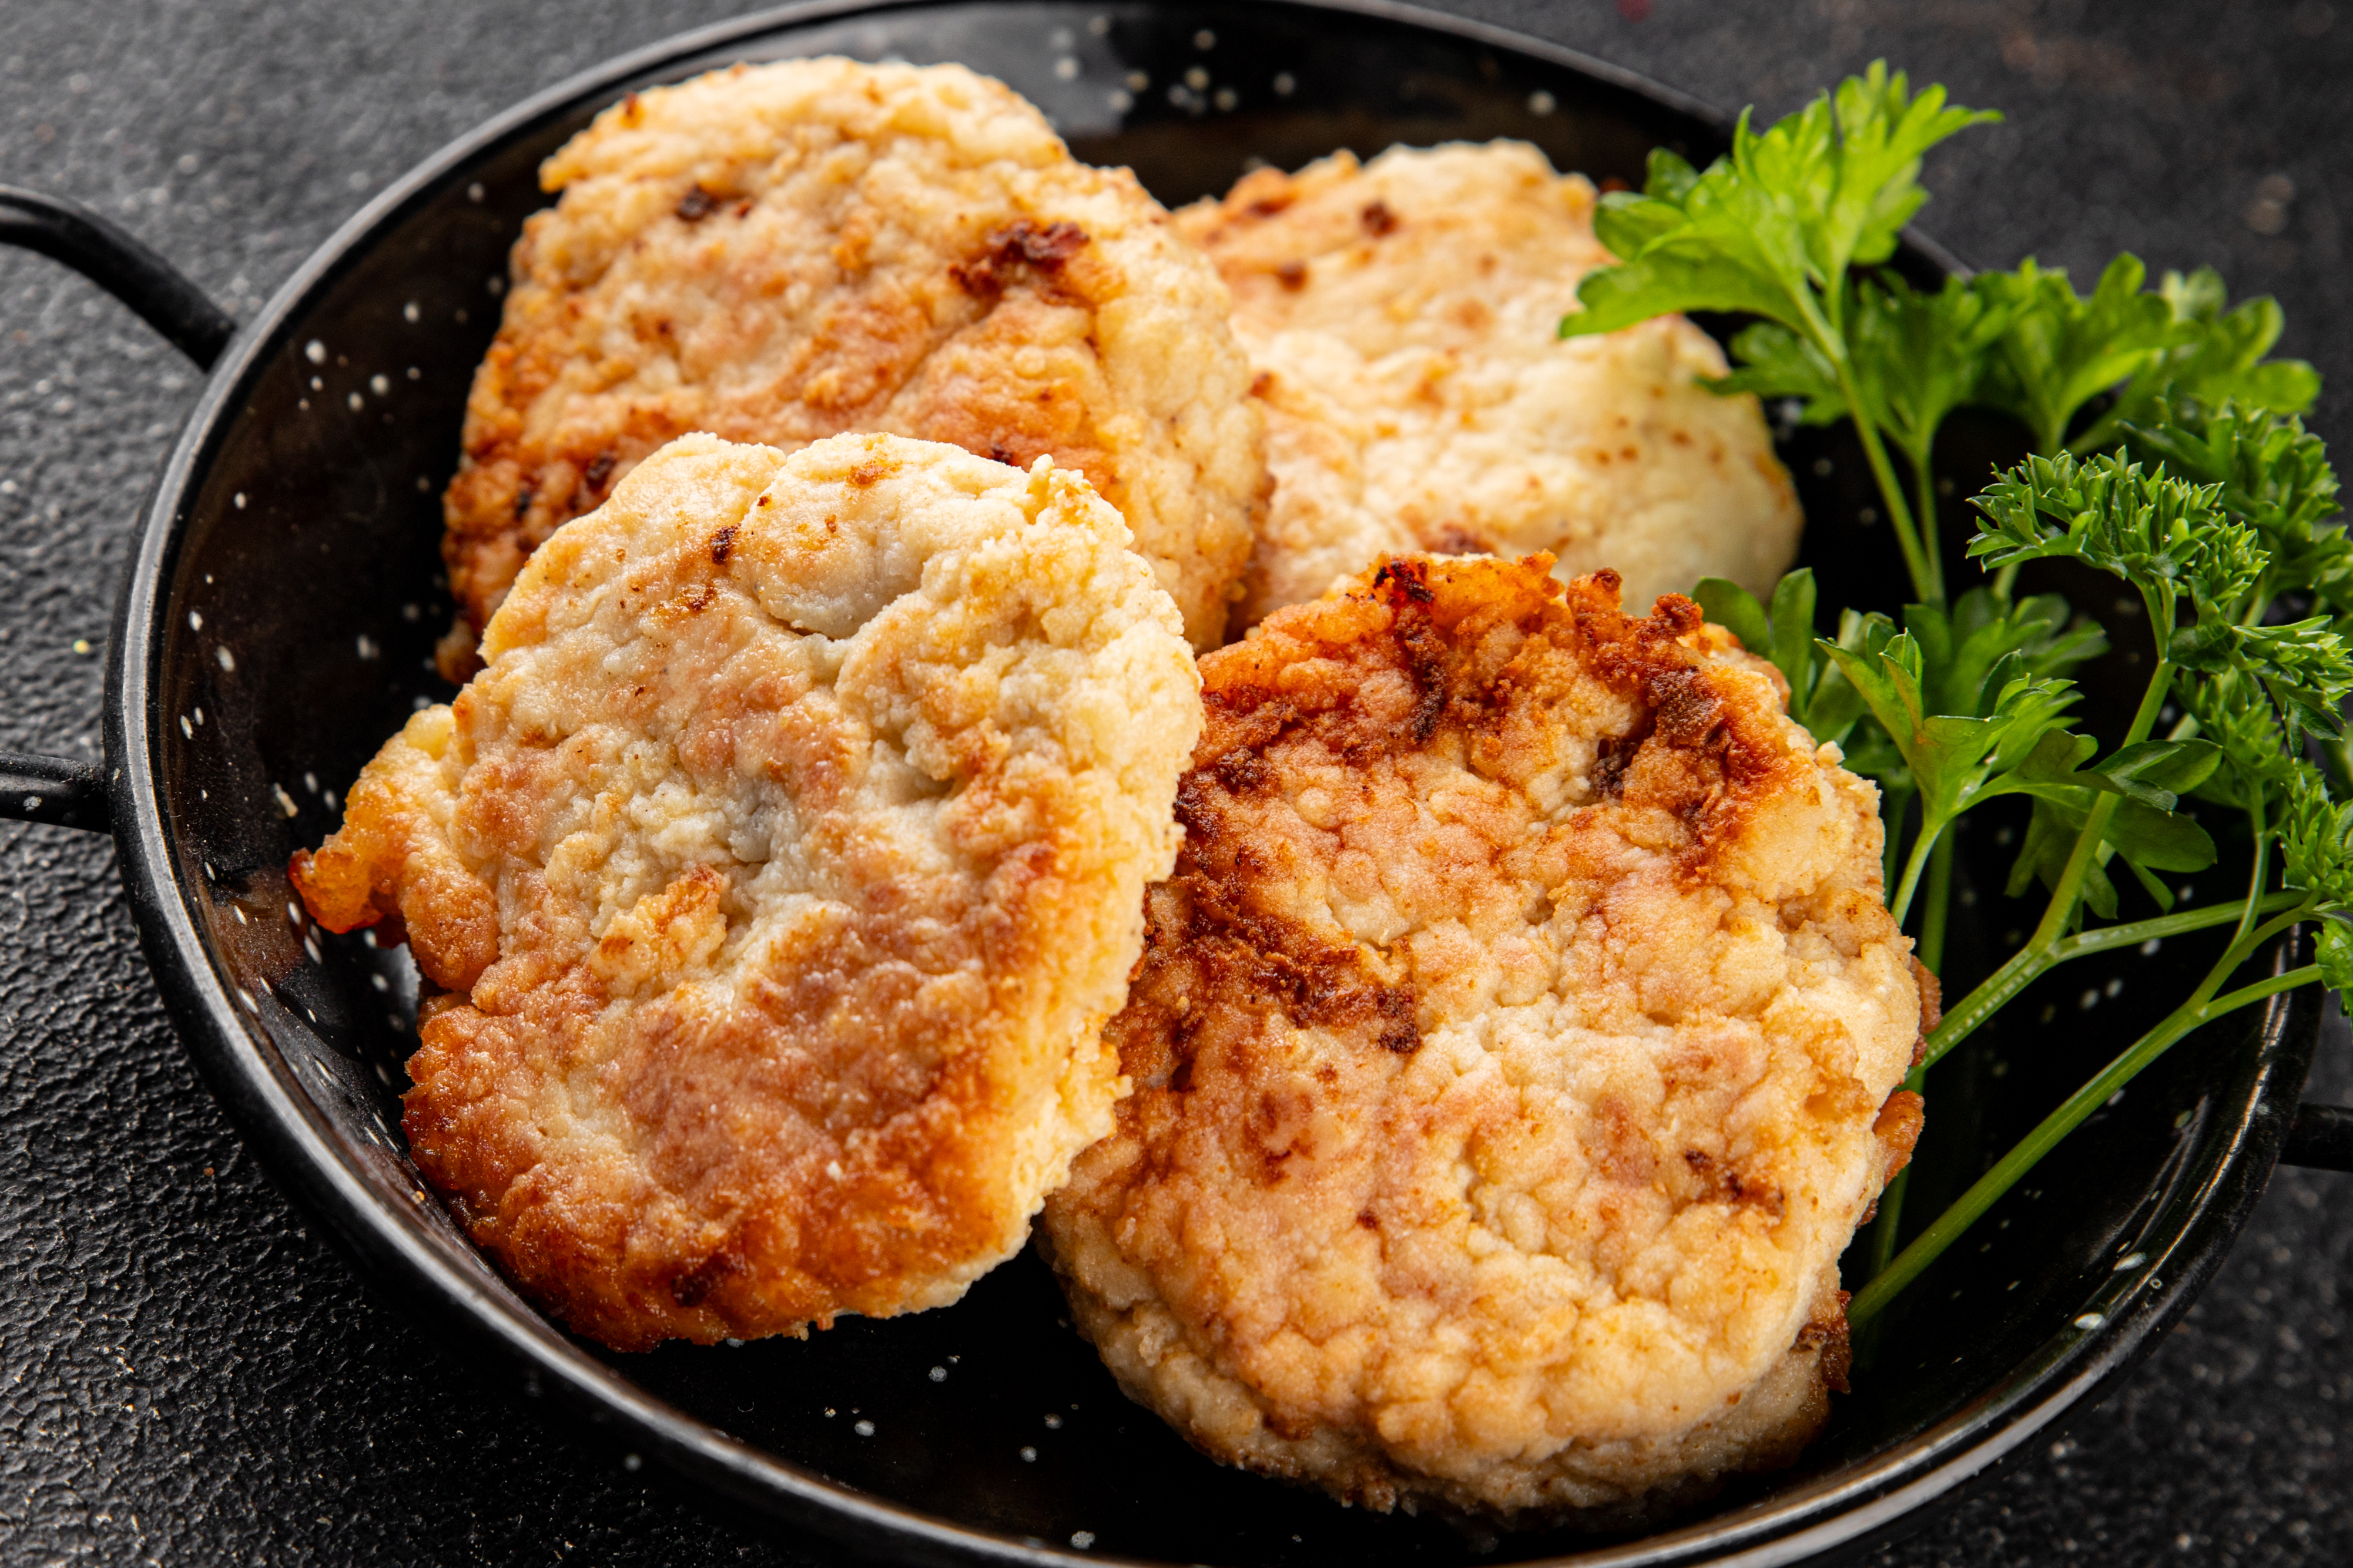
Ingredients
Method
How to Make Chicken Cutlets
1 Hit the chicken.
- Place each breast between two sheets of plastic wrap and use a meat mallet, a
- rolling pin or the bottom of a heavy pan to flatten it, starting from the centre and working outwards.
- You should achieve an even thickness of one quarter of an inch all over. Should any piece tear a bit,
- don't worry — simply press it back together.
2 Season both sides.
- Peel back the plastic and season each cutlet with salt, pepper, garlic powder,
- and paprika; the reason for seasoning at this stage is so that the flavour actually enters the thin meat
- rather than just remaining on top after frying.
3 Set up the breading station.
- Prepare three shallow dishes: in one put the flour (and if using, a pinch
- of salt together with the lemon rind), in the second put the whisked egg and milk, and in the third put
- the breadcrumbs — to which Parmesan should be added if you are using it.
4 Bread the cutlets.
- Coat each cutlet in flour and shake off any excess, dip it in egg and allow the
- excess to drip off, then press it firmly into the breadcrumbs so that they stick on all sides. Place the
- breaded cutlets on a rack or a plate and repeat with the rest.
5 Let them rest, 5–10 minutes.
- It is easy to omit this step and later regret having done so because
- during the rest the crumbs have a chance to stick to the surface moisture, and as a result you lose
- less breading in the pan and more crust remains on the plate.
6 Heat the oil.
- Put approximately two tablespoons of oil or butter in a large skillet and heat it over
- medium-high heat. The oil should be shimmering — hot enough so that the chicken sizzles when it
- makes contact with it, not so hot that the crust browns before the interior is cooked.
7 Fry until golden brown.
- Cook the cutlets in batches so as not to overcrowd the pan — about 3 to 4
- minutes per side, until they are deeply golden and have reached an internal temperature of 165°F.
- Since they are thin, they cook quickly; don't feel the need to flip them constantly.
8 Rest and serve.
- Transfer the cutlets to a rack or to a plate lined with paper towel and leave them for 2
- to 3 minutes before serving so that the juices remain in the meat rather than ending up on your cutting
- board. If you like, finish with some parsley and a squeeze of lemon.
Tips for Better Chicken Cutlets
- Beat it evenly — if the thickness is uneven, the cooking will be uneven: the thicker parts stay raw
- while the thinner parts dry out.
- For an extra crunchy result, swap in panko for half or all of the breadcrumbs.
- Don't skip the resting stage — five to ten minutes makes a real difference to how well the crust holds
- together.
- Watch the oil temperature: if the breading browns in under two minutes, the oil is too hot; if it takes
- more than five, it's too cold. Aim for a steady sizzle.
- Serve immediately — the crust softens quickly once the cutlets sit.
Easy Variations to Try
- Spicy honey cutlets: stir a teaspoon of cayenne or chili powder into the breadcrumbs and drizzle
- with hot honey before serving.
- Cheese-stuffed cutlets: place a thin slice of mozzarella or provolone in the middle of each breast
- before coating.
- Herb-crusted cutlets: combine chopped rosemary, thyme, and sage with the breadcrumbs for a
- rustic, fragrant crust.
- Baked & lighter version: use almond flour and egg whites, then bake at 425°F for 15–20 minutes
- instead of frying.
- Sesame-panko cutlets: coat with panko and toasted sesame seeds, and serve with a soy-ginger
- dipping sauce.
Storing and Reheating
- Leftover cutlets can be stored in a sealed container in the refrigerator for up to three days. To get the
- crunch back, reheat them in a toaster oven or conventional oven at 400°F for 8 to 10 minutes — avoid
- the microwave, as it makes the coating soggy. To freeze them, place the cooled cutlets on a baking
- sheet and freeze until firm, then transfer to a freezer bag; they'll keep for up to two months. Thaw in the
- fridge overnight before reheating.
Notes
They go well with nearly anything — a light arugula salad and lemon vinaigrette, or a more substantial pairing like roasted potatoes and steamed vegetables. For an elegant meal, add a mushroom cream sauce, or for a quick chicken parm, cover them with marinara and melted mozzarella. They're just a good with mashed potatoes, rice pilaf, or a crusty baguette to soak up the sauce.