Ingredients
Method
How to Make It
- Begin by putting the crumbs, butter, sugar, and salt into a bowl and mixing them together until the
- mixture has the texture of damp sand. Press this mixture firmly into a 9 by 13 inch baking dish—even
- though it might be tempting just to pour it in and move on with the recipe, you have to press it down
- since otherwise it will fall apart when you try to cut it. After that, put it in the refrigerator for thirty
- minutes while you get on with preparing the other ingredients.
- Start by melting the chocolate by putting it over a pot of water which is just beginning to simmer until
- the chocolate has become smooth, after which allow it to cool a bit. In a separate bowl, beat one cup
- of cream until soft peaks appear. In another bowl, mix the egg whites with a small amount of salt until
- a foamy texture is obtained, then gradually add the six tablespoons of sugar while still beating the egg
- whites. Continue beating until stiff, shiny peaks are achieved. Mix the melted chocolate into the
- whipped cream and then gently fold in the egg whites—do not rush this step since you would then
- lose the light and fluffy texture. Lastly, add the vanilla.
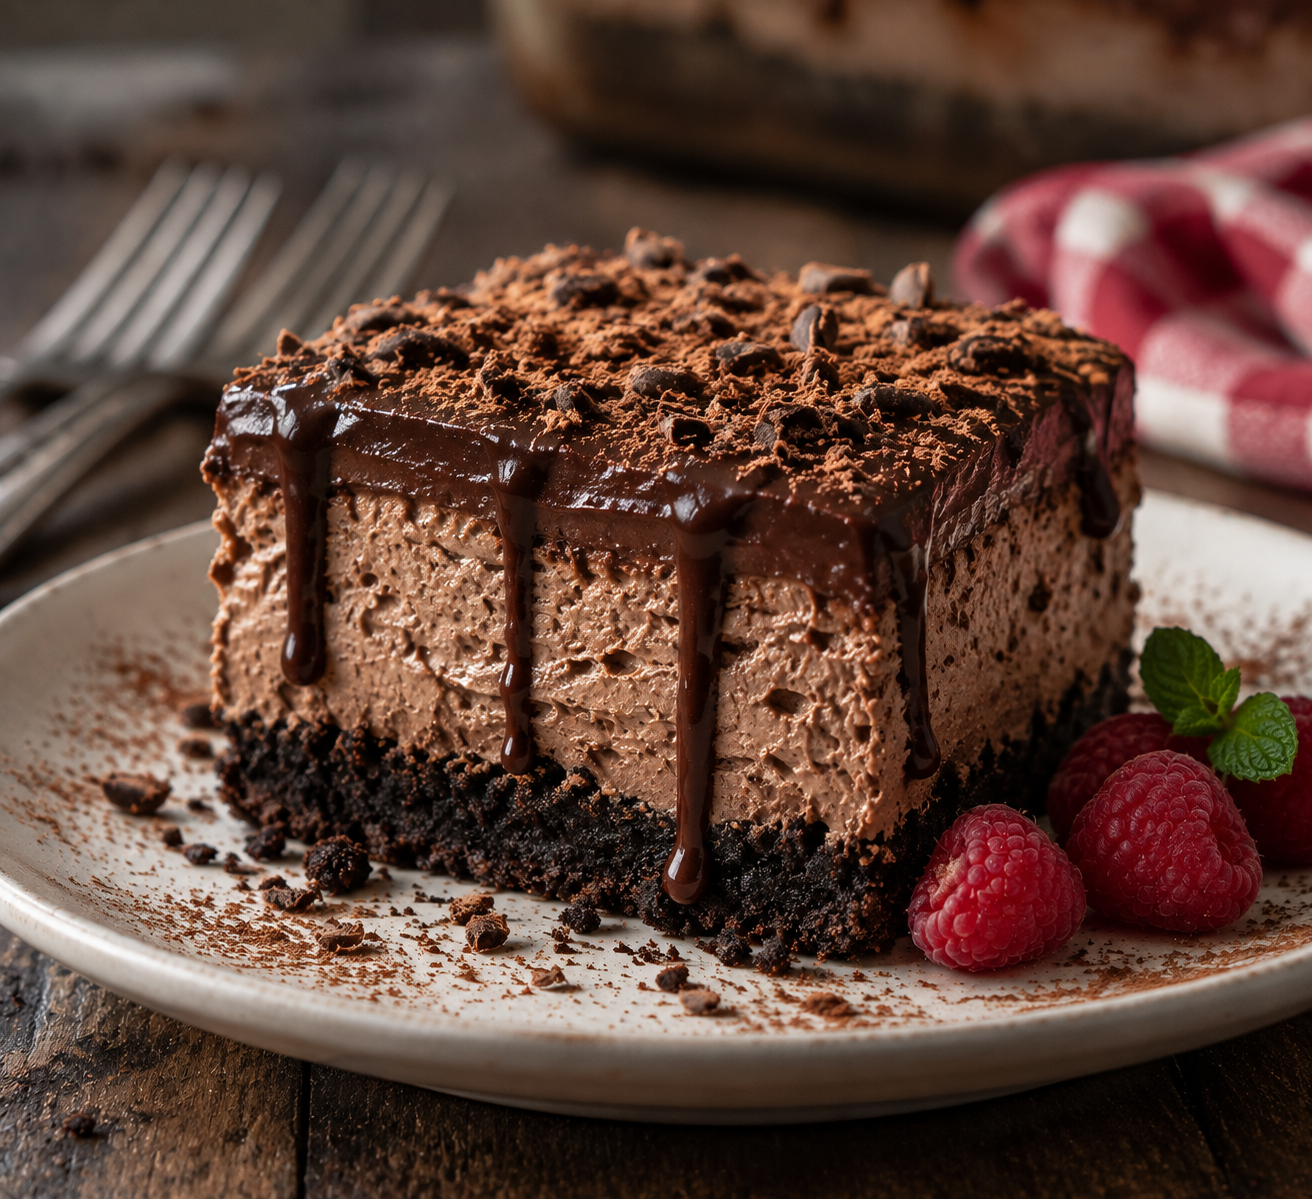
- Cover the crust with half of the mousse. If you want to add some peanut butter or Nutella, put a small
- amount on top and gently swirl it in, making sure that the little pockets of flavour are still
- visible—those are wonderful. Then spread the rest of the mousse over the top and smooth it down.
- In order to prepare the ganache, put the chopped chocolate into a bowl. Heat the cream and butter in
- a saucepan until they just start to simmer, and then pour them over the chocolate. Leave it for two
- minutes and stir from the centre outwards until it has become smooth and shiny. Let it cool for about
- ten minutes so that it thickens a little but remains pourable. Pour the ganache on top and allow it to
- flow naturally down the sides.
- Cover it with plastic wrap and chill it for a minimum of four hours, ideally overnight; the longer it
- remains in this state, the better the flavours will taste together.
- If you would like to eat it, take it out and leave it there for about fifteen minutes. For each cut, place
- your knife into some hot water in order to get clean slices. Then add some whipped cream, chocolate
- shavings, berries, or caramel on top.
Things I Wish Someone Had Told Me
- Buy good chocolate because it is the primary ingredient and if you use the cheap chocolate chips the
- flavour will be affected; for that reason it's worth spending a little more and purchasing a good bar to
- notice the difference.
- Don't rush the chilling process. Even if you think, "It's already been two hours and it appears to have
- set, so I'll proceed," don't do it. Rather, let it chill for at least four hours altogether. It is only after it has
- been left overnight that the true effect takes place.
- When you are using egg whites—since it is they that give the mousse its lightness—you should make
- sure that both your bowl and your beaters are completely clean and free from any grease, as even a
- small amount of fat will stop them whipping properly and will result in something that looks like sad
- foam rather than the nice stiff peaks. It is worth washing the bowl and drying it thoroughly before you
- start.
- You must remember to press down on the crust since that actually does make a difference when
- you're cutting clean slices.
Ways to Mix It Up
- The recipe is both tolerant and easy to modify. For instance, if a person is unable to eat gluten, all you
- need to do is substitute gluten-free cookie crumbs and you'll be fine. If you want to make it vegan, use
- coconut cream and dairy-free chocolate together with aquafaba (that is, the liquid remaining from
- canned chickpeas) in place of the egg whites. The final product turns out surprisingly like the original.
- You can also add two tablespoons of instant espresso to the melted chocolate since it has no coffee
- flavour but rather makes the chocolate taste more intense and richer. Although this may seem odd it
- actually does work.
Storing and Leftovers
- So long as it is tightly covered with plastic wrap, the dish will stay fresh in the refrigerator for up to five
- days; since the dessert is already served cold there is no requirement to reheat it, all you need to do
- is take it out about fifteen minutes before eating so that it has time to soften.
Wrapping It Up
- I have now made it so many times that I almost don't need the recipe any more, and that is precisely
- what a good recipe ought to do: it should be simple enough to remember and good enough to prepare
- repeatedly. It is able to serve a large number of people without causing you the slightest stress and at
- the same time manage to impress people without in the least being complicated. Even though
- chocolate lasagna looks as if it has taken a long time to prepare, I can assure you it hasn't.
- Should you try it once, you will probably end up back in the kitchen once more, posing to yourself the
- very question that I always ask, namely "What if I add something else next time?" And to be honest,
- that is in fact the real problem with this recipe — and in reality that isn't a problem at all
Notes
It is best to make this chocolate lasagna a day in advance since the flavours and texture really do improve after it has been left to rest in the fridge overnight. The most frequent error people commit is to rush the chilling process, as the mousse needs several hours to set properly in order to achieve neat, bakery-style slices. Moreover, you should use good-quality chocolate not cheap chocolate chips; since chocolate is the main ingredient in this recipe, the difference in taste can be felt. This dessert is perfect if you're serving a large number of people or preparing for a party because it was designed to be left to rest — there's no need for last-minute hurry.