
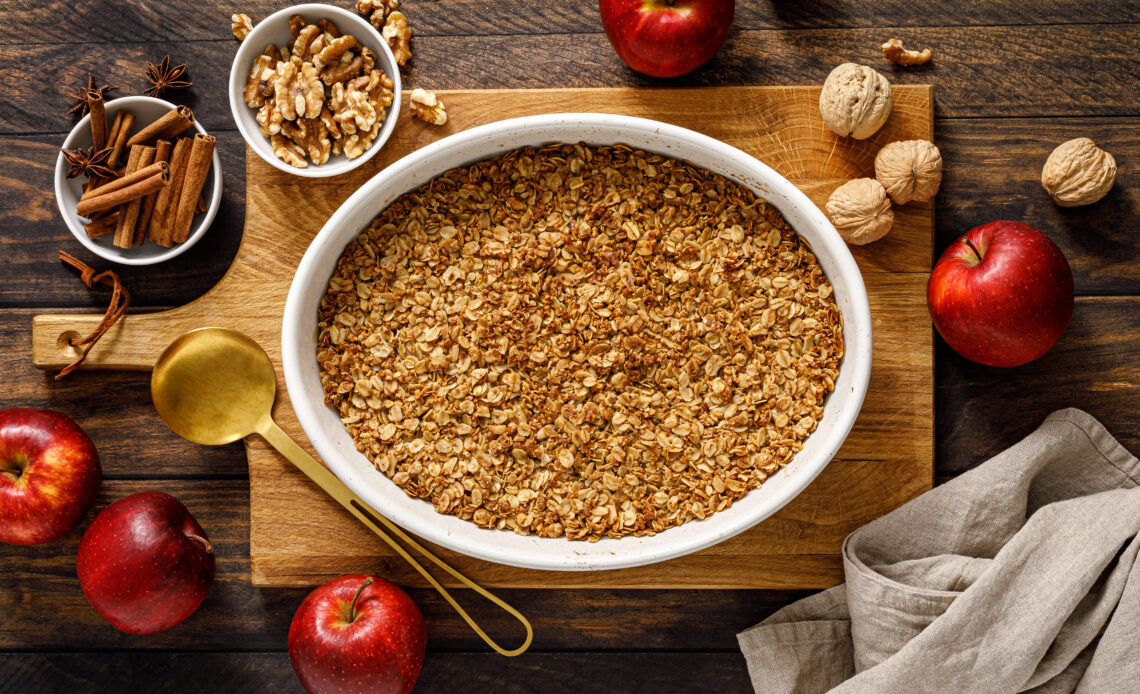
ou know that moment when a crumble is baking and the whole house starts smelling like cinnamon and warm apples? That’s basically why I make this dessert on repeat. It’s not fancy, it doesn’t take a ton of effort, and somehow it still feels like a bit of an occasion every time it comes out of the oven.
The good news for anyone avoiding gluten: this version doesn’t taste like a compromise. I’ve made it for people who had no idea it was gluten-free until I told them. A few pantry staples, some apples, and you’re basically there.
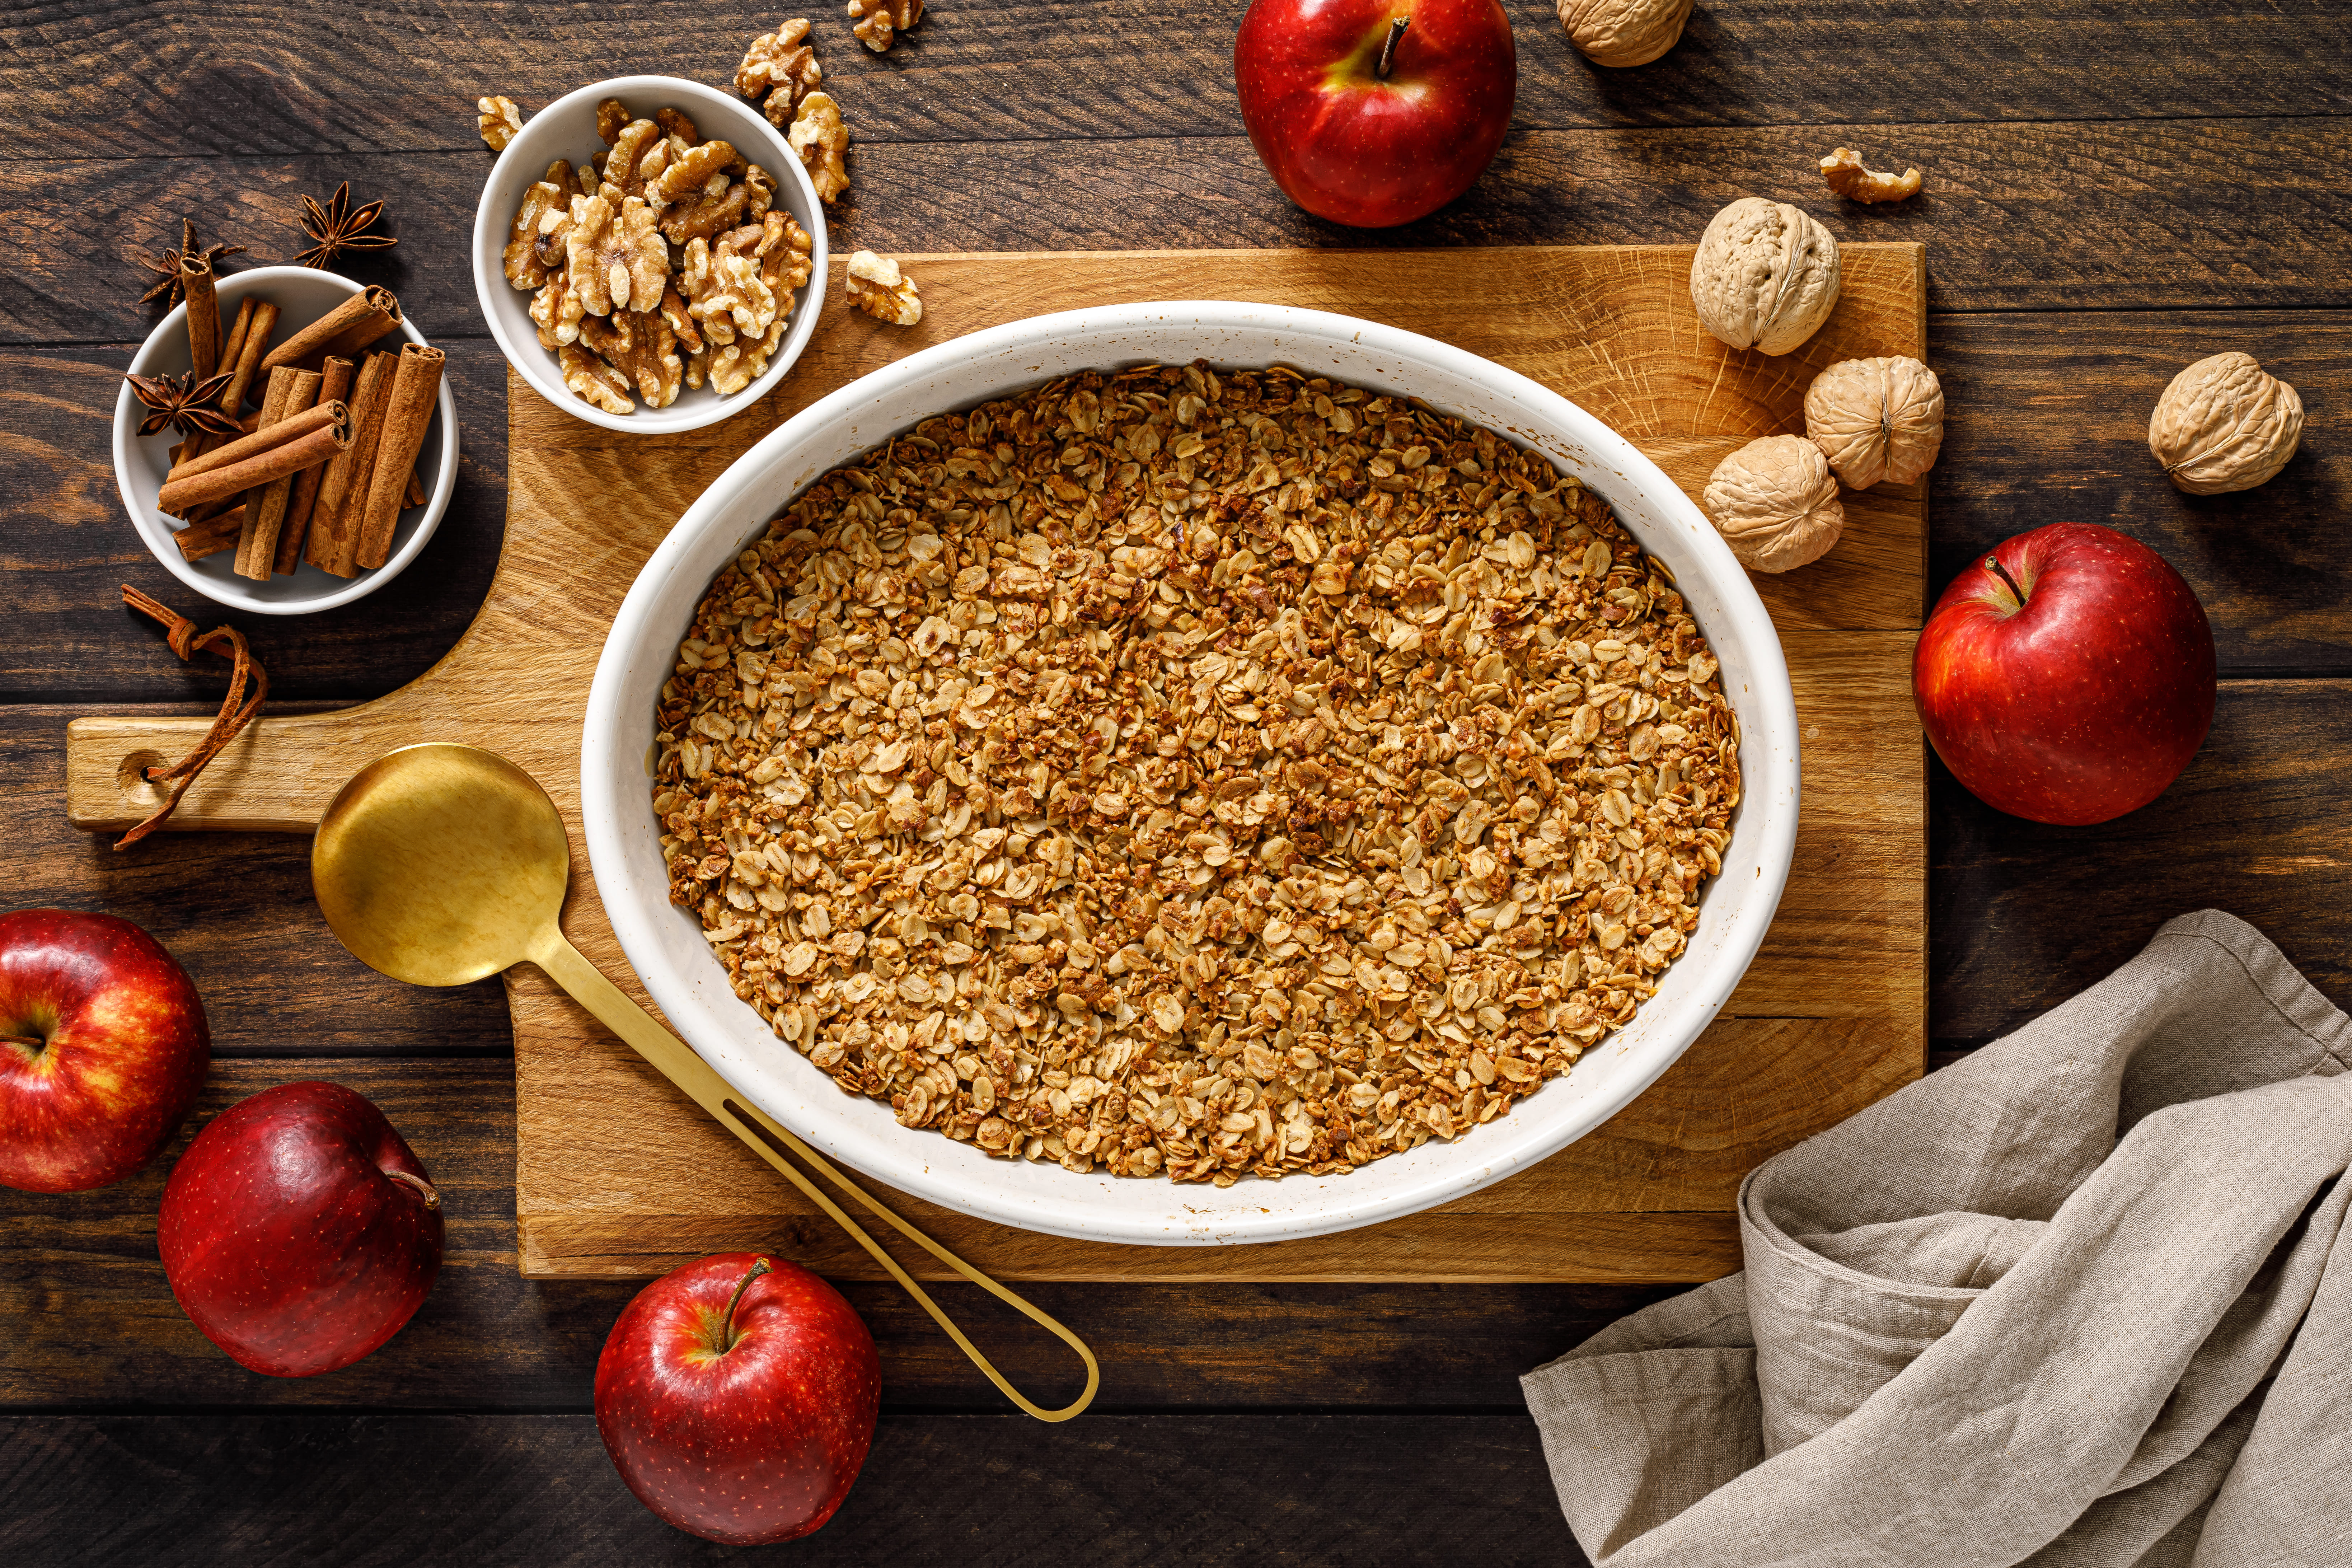
Easy Homemade Gluten-Free Apple Crumble Recipe
"Easy gluten-free apple crumble with a crisp cinnamon-oat topping. Ready in under an hour, made with simple pantry staples everyone can enjoy
Ingredients
Method
Which Apples to Use
- Not all apples are created equal once they hit the oven. Some turn to mush, some barely soften at all. Granny Smith is my usual pick — that sharp tartness cuts through the sugary topping nicely. Honeycrisp, Braeburn, Pink Lady, and Fuji all hold up well too.
- If I’m being honest, the best crumbles I’ve made used two kinds of apples at once — something tart mixed with something sweeter. It just gives the filling more going on instead of one flat sweetness the whole way through. Worth trying if you’ve got the extra apple lying around.
Let’s Make It
- Preheat your oven to 180°C (350°F) and grease an 8-inch baking dish — butter, cooking spray, whatever you’ve got.
- Peel and core your apples, then slice them thin. They don’t need to look like they came from a cooking show, just try to keep them roughly the same thickness so nothing cooks unevenly.
- Toss the apple slices into a big bowl with the lemon juice, brown sugar, cinnamon, nutmeg, vanilla, gluten-free flour, and that pinch of salt. Give it a gentle mix until everything’s coated — you’re not trying to bruise the apples here. Pour it all into your dish, and don’t leave behind whatever syrupy liquid pools at the bottom of the bowl. That stuff turns into a really good sauce once it bakes.
- For the topping, mix the oats, flour, brown sugar, cinnamon, and salt in a separate bowl. Add the cold butter and use your fingers to rub it into the dry mix until it looks crumbly — a mix of small crumbs and bigger clumps is exactly what you want. Don’t overthink getting it uniform; the uneven bits are what give you those crispy, buttery pockets later.
- Stir in the nuts if you’re using them, then spread the topping over the apples so it’s mostly covered.
- Into the oven it goes for 35–40 minutes, until the top is a deep golden brown and you can see the filling bubbling at the edges. If it’s browning faster than the inside is cooking, just lay a sheet of foil over it loosely for the last bit.
- Here’s the part everyone skips and shouldn’t: let it rest for 10 minutes before serving. I know, the smell is torture. But that short wait lets the filling settle instead of running everywhere the second you cut into it.
Serving It
- On its own, it’s already good. With a scoop of vanilla ice cream melting into the warm apples? Even better — honestly hard to top. Whipped cream, Greek yogurt, or warm custard all work too, depending on your mood.
- Going dairy-free is easy — just swap in a plant-based butter for the topping and grab a dairy-free ice cream to go with it.
A Few Things I’ve Learned
- Keep the butter cold until the last second. Warm butter gives you a greasy topping instead of a crisp one — learned that the hard way.
- Try to slice your apples evenly. Thick chunks stay firm, paper-thin slices basically disappear into mush.
- Taste-test your apples before deciding on sugar. Sweeter apples need less, tart ones can handle a bit more.
- Want extra crunch? A handful of nuts or a sprinkle of coarse sugar on top before baking does wonders.


